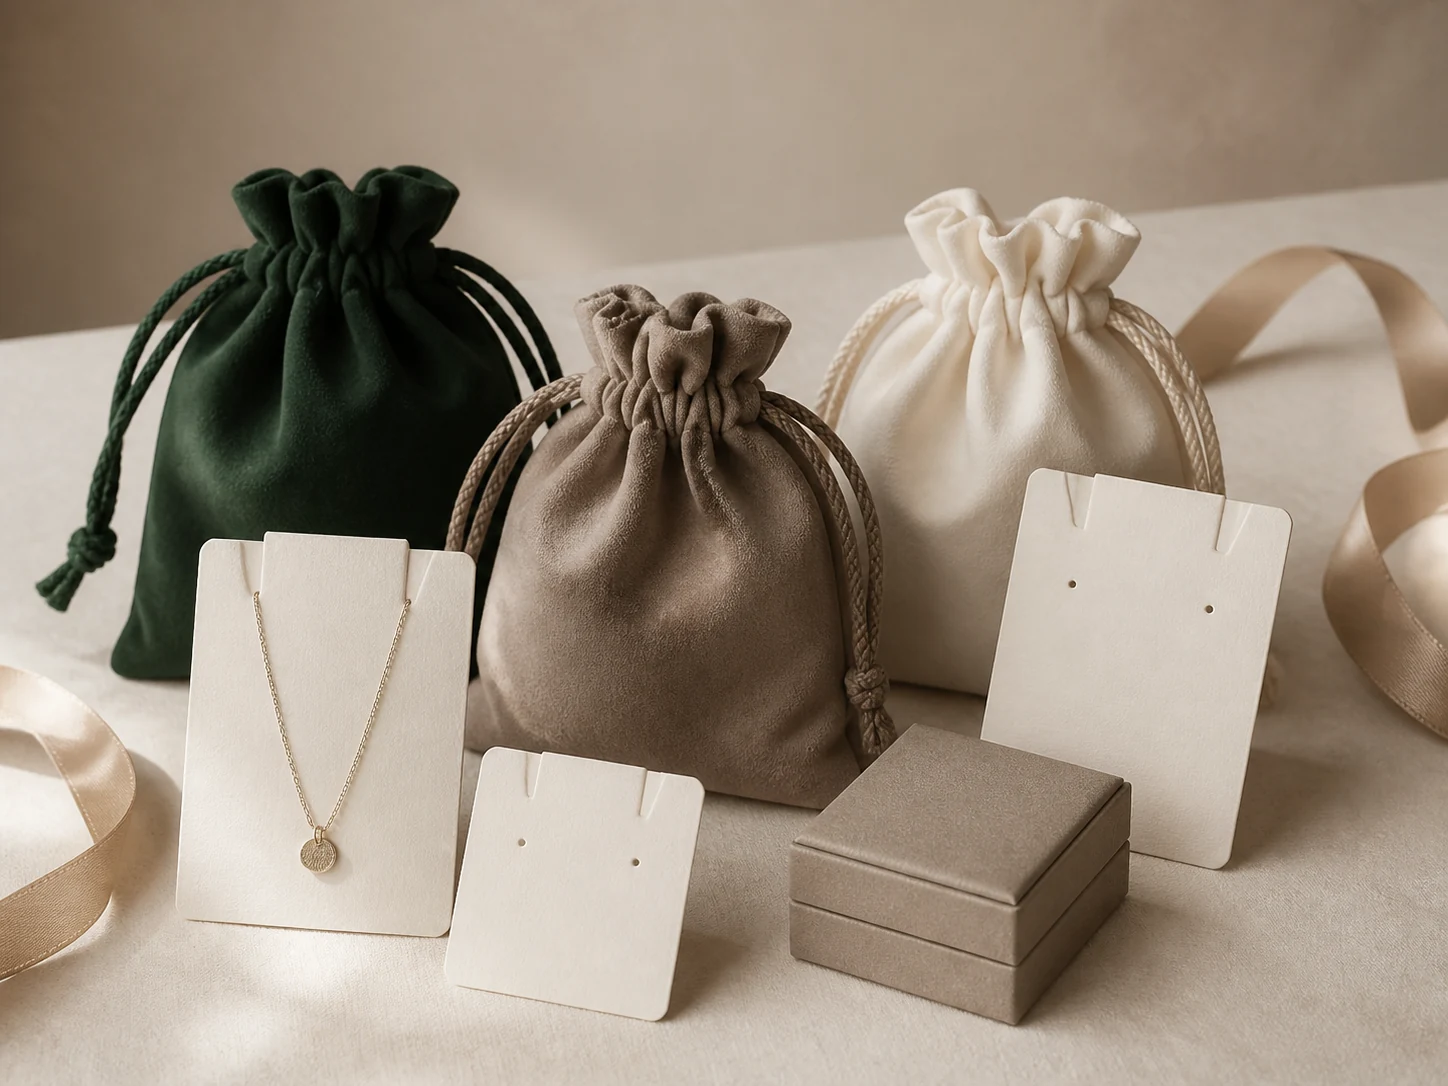
Custom velvet, microfiber, cotton and drawstring jewelry pouches for retail, gifting and travel.
Choose the format around the jewelry
The useful starting point is the product itself: dimensions, delicate areas, how the customer should first see it and how staff will pack it. Those answers determine the internal space and insert before decorative details are selected. A clear specification then connects the structure, surface, color, logo method and outer packing.
Structure
Drawstring, flap, envelope and snap-style formats serve different jewelry types and packing needs.
Material and surface
Velvet, microfiber, cotton and other approved fabrics differ in softness, structure, print behavior and color availability.
Jewelry fit
Finished pouch size should allow easy insertion without excessive movement or pressure on delicate pieces.
Where this packaging works
- Soft secondary protection inside a rigid box or ecommerce mailer
- Travel, aftercare and storage packaging for jewelry customers
- Lightweight retail presentation where a rigid box is not required
Buyer decision: Ask whether the quoted size refers to the cut fabric, finished outer size or usable space. Confirm the opening and loaded closure with an actual sample.
Specification points to confirm
| Pouch format | Drawstring, flap, envelope or another confirmed closure |
|---|---|
| Fabric | Velvet, microfiber, cotton or approved alternative |
| Logo | Print, foil or embroidery where compatible with the fabric |
| Details | Cord, ribbon, lining, label and individual packing |
Supply production-ready vector artwork when available and identify the required logo size and location. For critical colors, provide a physical reference or agreed color standard and review it on the real material. Screens and digital mockups help direction, but they are not production color standards.
Sample approval checklist
- Insert the jewelry and test usable space after the closure is tightened
- Check fabric color, hand feel, stitching and cord operation
- Approve the logo method on the real fabric because texture changes fine details
Review the sample in the same way the packaging will be used. Open it, install and remove the jewelry, handle the closure, compare the branding and place it inside any pouch, bag or shipping protection included in the final system. Record approved dimensions, material, color, logo, insert and packing details rather than relying on photographs alone.
Planning a bulk order and future reorders
Share the target quantity by size, destination country and required timing early enough to compare suitable constructions. Individual packing, carton quantity and shipment protection can affect both delivered condition and shipping volume. For repeat orders, refer to the approved sample and written specification, and review any proposed material or process change before production.
How to choose a jewelry pouch size
Choose the pouch around the complete item being packed, including its card, clasp, backing and any protective wrap. A quoted width and height are a starting point for comparison, not proof that the loaded pouch will close comfortably. Use the following checks to turn a size request into a sample that can be approved.
1. Define what each measurement describes
Ask the supplier to identify the measurement points and units on a simple drawing. Distinguish fabric cutting dimensions, finished outside dimensions and the space available to the product. Do not apply a standard seam deduction to every design: the construction, lining and closure need to be checked on the proposed pouch.
| Finished outer size | Record the width and height of the completed pouch, how it is laid out for measurement and whether any top trim is included. |
|---|---|
| Usable interior | Identify the space between the relevant seams and below the closure area. Confirm it with the intended item inside. |
| Opening | Check the route through which the jewelry or card enters. A product that fits inside may still be difficult to pass through the mouth. |
| Packed thickness | Include raised settings, clasps, earring backs, folded chain and the card or wrap in the packed shape. |
| Closed result | Record whether the drawstring or other closure operates normally, leaves the intended top shape and avoids pressure on delicate parts. |
2. Measure the jewelry in its packing position
Place the jewelry on the actual presentation card or support, then measure the assembled width, height and thickest point without compressing it. Note anything that projects beyond the card. For earrings, include the backs; for a pendant, include its setting and the planned position of the chain and clasp. Keep the intended front and back arrangement visible in photographs.
If the pouch is meant to hold a box, measure that finished box rather than the jewelry alone. If the pouch sits beside a box in a gift set, check the space available in the complete set. These are different sizing tasks, so state the intended arrangement in the brief.
3. Test insertion, closure and removal together
Open the sample as a packing operator normally would and insert the complete item in the intended direction. Check that card corners do not catch, the card does not need to bend and protruding details do not drag against seams. Close the pouch without forcing the contents downward or using extra cord tension to disguise a poor fit.
Inspect the packed result from both sides. A drawstring should not pull a chain into its channel or press the top of the card against the jewelry. Open the pouch again and remove the item using the intended grip. Record where loading or removal becomes awkward; increasing the outside height alone may not resolve an opening or width problem.
4. Check the range that will share one size
Try the largest packed item, the thickest or most awkward shape and a smaller item that may move excessively. Keep each trial tied to an item code and pouch sample version. If the same size cannot meet the agreed presentation and handling needs across the range, compare a second size or a revised packing arrangement before approving the order.
Review the actual fabric with the jewelry for snagging, visible lint and transfer during the agreed handling check. Do not infer anti-tarnish performance from color, softness or fabric name. Any protective-material claim needs supporting evidence for the specific material and conditions.
5. Record the approved fit for the quotation
Keep the drawing, pouch sample reference, fabric and lining, closure details, packed product dimensions, card version and accepted loading sequence together. Specify quantities by size and color, the destination and required timing. Mark unconfirmed dimensions as questions so an estimate does not become an accidental production requirement.
Use the packaging RFQ checklist to organize the brief, then request a pouch sizing review with the measurements available. For later orders, use the reorder change checklist if the jewelry, card, fabric, lining or closure changes.
Questions buyers ask
Which fabric is best for a jewelry pouch?
The right fabric depends on softness, structure, color availability, logo method and the jewelry surface. Review physical fabric samples before approval.
Can the color, material, logo and insert be customized?
Yes. The workable combination is confirmed through the brief, material review and sample rather than assumed from a digital image.
How much extra room should I add to the jewelry dimensions?
There is no single allowance that establishes fit for every pouch. Agree the measurement points, then check the complete packed item in the proposed fabric, lining and closure. Use the sample to confirm insertion, closure and removal before fixing the finished size.
Can presentation-card dimensions alone determine the pouch size?
No. Include the jewelry mounted on the card, its backs or clasp, any folded chain and the path through the opening. A flat card that fits an empty pouch does not establish that the loaded card will fit and close properly.
What should be included in the RFQ?
Send the jewelry type and dimensions, target quantity, preferred structure or reference, material and color direction, logo artwork, destination and required timing.